Use the Quick Settings tile
The ADNS Quick Settings tile controls Android’s built-in Private DNS setting. It works only when Device DNS control is selected and ADNS has the WRITE_SECURE_SETTINGS grant. A NextDNS control-only setup cannot use the tile because it does not change Android Private DNS.
1. Activate device DNS control
Section titled “1. Activate device DNS control”During onboarding, select Device DNS control. From an existing setup, open Settings and select Activation to manage the grant. Grant WRITE_SECURE_SETTINGS through Shizuku or Sui, or use ADB:
adb shell pm grant com.eyalm.adns android.permission.WRITE_SECURE_SETTINGSIf ADNS says Shizuku is not running, start Shizuku and try the activation again. If Shizuku access is denied or the grant is later removed, re-authorize it or use the ADB command. The tile shows Activation required while either the Device DNS control mode or the secure-settings grant is missing.
2. Select the provider to control
Section titled “2. Select the provider to control”Open Settings → Change Provider → Providers, then select a provider. Choose Custom Hostname (advanced) only when you have a valid Private DNS hostname to enter. For NextDNS, connect and select the profile first, then choose Device DNS control.
When the currently selected resolver is active, choosing another provider writes the new hostname and ADNS verifies it before saving the selection. If Android rejects an active write, ADNS keeps the prior selection. When the selected resolver is inactive, such as while the tile is off, the new selection is saved without changing Android Private DNS; it is applied when the tile turns on.
3. Add the tile
Section titled “3. Add the tile”Open Settings and choose Add the quick settings tile. On Android 13 and later, ADNS opens Android’s add-tile request; approve it to place ADNS in Quick Settings.
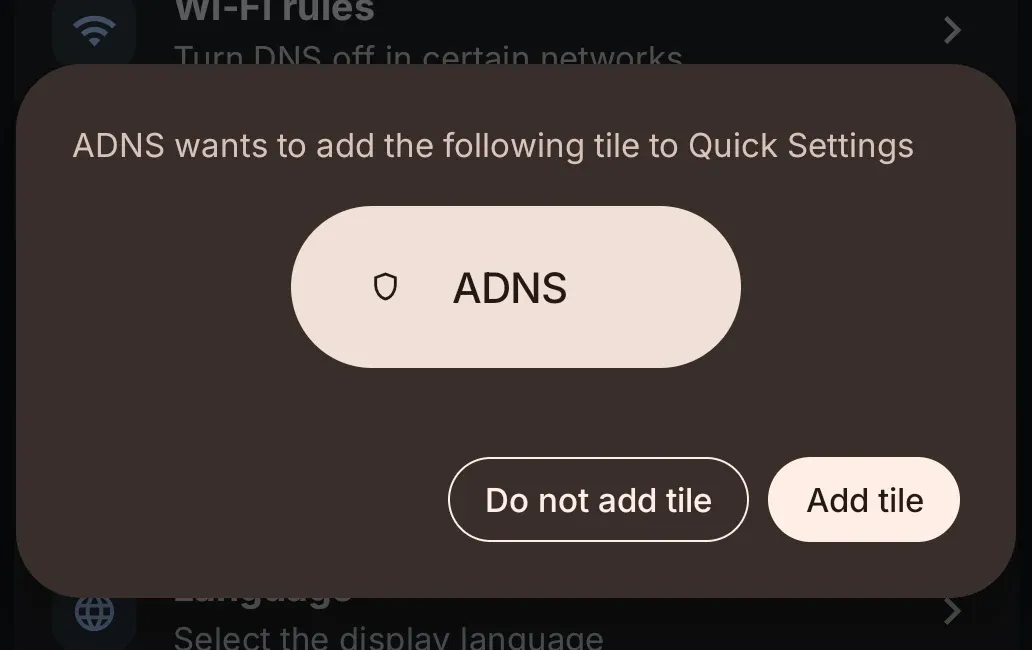
On pre-13 Android, ADNS cannot show that system add-tile request. Open the device’s Quick Settings editor instead, find ADNS among available tiles, and drag it into the active area. The editor layout and labels vary by device.
4. Toggle and verify
Section titled “4. Toggle and verify”Open Quick Settings and tap the ADNS tile to toggle Private DNS. If it does not change state, reopen Settings → Activation and confirm that Device DNS control and WRITE_SECURE_SETTINGS are still available.
5. Choose what turning off means
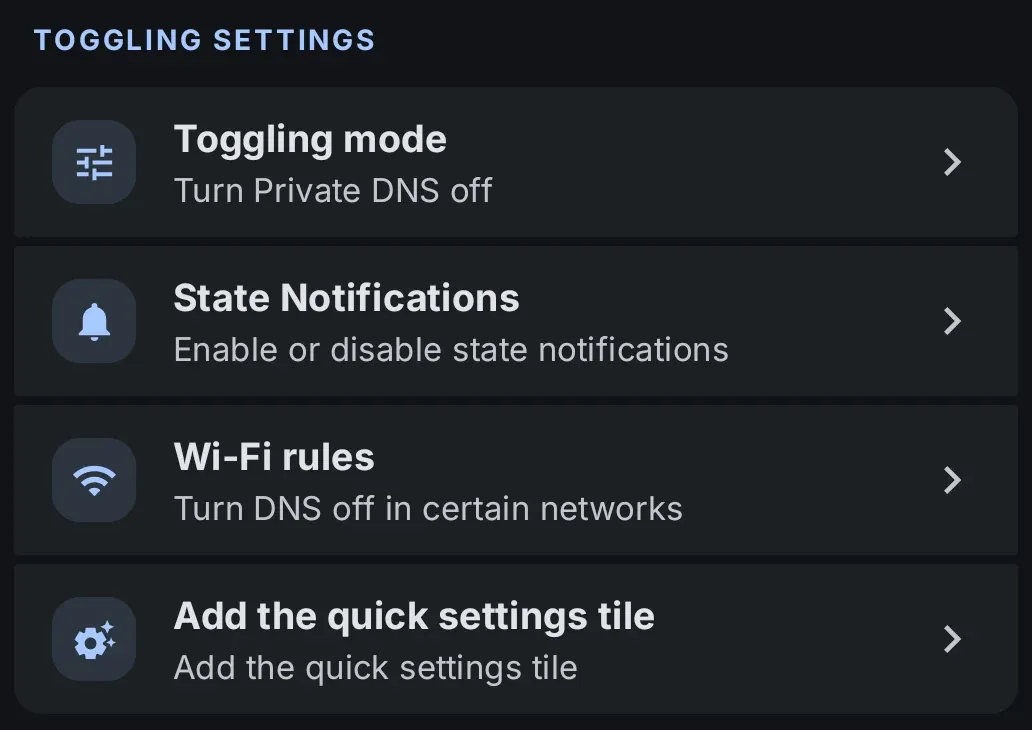
Section titled “5. Choose what turning off means”Open Settings → Toggling mode. The default, Turn Private DNS off, disables Android Private DNS until ADNS enables it again. Alternatively, choose Use Android automatic mode; Android may use encrypted DNS when the current network supports it.
Troubleshooting
Section titled “Troubleshooting”- Activation required: select Device DNS control and restore the
WRITE_SECURE_SETTINGSgrant. - Android rejects a change: check the provider hostname, then grant again through Shizuku/Sui or ADB.
- Private DNS changed elsewhere: if enabled Wi-Fi rules detect an external change on a matched network, ADNS leaves it alone until you leave that Wi-Fi network.
- VPN or device policy: the tile changes Android Private DNS, but an active VPN or managed-device policy can apply separate network behavior.
To remove the tile, use the Quick Settings editor. To keep ADNS but remove device control, run:
adb shell pm revoke com.eyalm.adns android.permission.WRITE_SECURE_SETTINGSFor the distinction between Shizuku access and the Android grant, see Understand permissions.